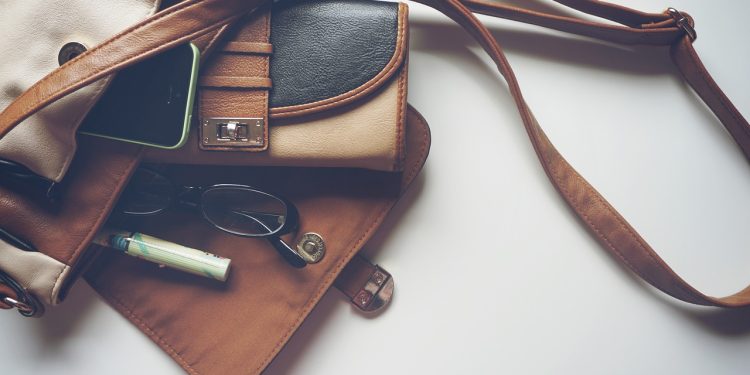
Tote bags are practical, versatile, and environmentally friendly, making them a staple accessory for everyday use. A personalized tote bag not only serves its purpose but also allows you to express your style and creativity. Whether you’re using it for grocery shopping, work, or as a statement piece, crafting your own personalized tote bag can be a fun and rewarding experience. Here’s a step-by-step guide to creating a unique tote bag that’s perfect for you.
Why Personalize a Tote Bag?
- Express Your Style: Add patterns, colors, and designs that reflect your personality.
- Eco-Friendly Alternative: Reusable tote bags reduce the need for single-use plastic bags.
- Thoughtful Gift: A personalized tote bag makes for a heartfelt and unique gift.
- Creative Outlet: It’s a fun project that allows you to explore your artistic side.
Materials Needed
To start your tote bag project, gather these materials:
- A plain canvas tote bag (available at craft stores or online)
- Fabric paints or markers
- Paintbrushes or sponges
- Stencils (optional)
- Fabric glue or hot glue gun
- Embroidery thread and needles
- Decorative items (e.g., rhinestones, sequins, buttons, patches)
- Iron (for heat-setting paint)
- Chalk or pencil (for sketching designs)
Steps to Create Your Personalized Tote Bag
1. Choose Your Design
Start by brainstorming the design you want for your tote bag. Here are some popular ideas:
- Abstract Patterns: Play with geometric shapes, lines, or splatters.
- Floral Motifs: Paint or embroider flowers for a delicate, feminine look.
- Quotes or Words: Add an inspirational message, your name, or initials.
- Pop Culture Themes: Incorporate designs inspired by your favorite books, movies, or TV shows.
- Seasonal Themes: Create festive designs for holidays or special occasions.
2. Prepare the Tote Bag
- Wash and Dry: If the tote bag is new, wash and dry it to remove any residue.
- Iron: Iron the bag to create a smooth surface for painting or decorating.
- Insert Cardboard: Place a piece of cardboard inside the bag to prevent paint or glue from bleeding through to the other side.
3. Sketch Your Design
- Use chalk or a light pencil to outline your design on the tote bag.
- If you’re using stencils, position them on the bag and secure them with tape.
4. Apply Paint or Markers
- Fabric Paint: Use brushes or sponges to apply paint to your design. Allow the paint to dry between layers for vibrant colors.
- Fabric Markers: These are perfect for intricate designs or lettering.
- Heat-Set: Once the paint is dry, set it with an iron to ensure durability. Use a cloth between the iron and the painted surface to protect the design.
5. Add Decorative Elements
- Rhinestones or Sequins: Use fabric glue to attach rhinestones or sequins to your tote bag. Create patterns or highlight specific areas of your design.
- Embroidery: Add texture and depth by stitching elements of your design with embroidery thread. Use simple stitches like backstitch, satin stitch, or French knots.
- Patches and Buttons: Sew or glue decorative patches and buttons for a playful touch.
6. Create Custom Handles
- Wrap the handles of your tote bag with colorful ribbons or yarn.
- Add beaded accents or knots for extra flair.
Advanced Techniques
1. Tie-Dye Tote Bag
- Use fabric dye to create vibrant, tie-dye patterns on your tote bag.
- Twist, fold, or crumple the bag and secure it with rubber bands before applying dye.
- Rinse and dry according to the dye instructions.
2. Appliqué Designs
- Cut shapes or patterns from fabric scraps.
- Attach them to the tote bag using fabric glue or by sewing.
- Use contrasting fabrics for a bold look.
3. Layered Painting
- Experiment with layering different colors and textures of paint.
- Use a sponge or brush to blend colors for a gradient effect.
4. Photo Transfer
- Print an image onto transfer paper and use an iron to apply it to the tote bag.
- Follow the transfer paper instructions for best results.
Tips for Success
- Test Materials: Test paints, markers, or glue on a small fabric scrap to ensure compatibility.
- Plan Ahead: Sketch or visualize your design before applying it to the tote bag.
- Work Neatly: Use tape or stencils to create clean lines and avoid smudging.
- Allow Drying Time: Ensure each layer of paint or glue dries completely before moving to the next step.
- Protect Your Workspace: Cover your work area with newspapers or a drop cloth to prevent stains.
Ideas for Gifting Personalized Tote Bags
- Birthday Gifts: Add the recipient’s name or birthdate.
- Wedding Favors: Create matching tote bags for bridesmaids or guests.
- Holiday Themes: Design tote bags with festive patterns for Christmas, Halloween, or other holidays.
- Corporate Gifts: Customize tote bags with company logos or motivational quotes for employees or clients.
Caring for Your Personalized Tote Bag
- Spot Clean: Use a damp cloth to clean small stains or marks.
- Hand Wash: If needed, hand wash the tote bag gently with mild detergent.
- Air Dry: Avoid using a dryer; hang the bag to air dry naturally.
- Avoid Harsh Conditions: Keep the bag away from excessive moisture or direct sunlight to preserve its design.
Why Make Your Own Tote Bag?
Personalizing a tote bag is more than just a craft project—it’s an opportunity to create something functional and uniquely yours. Whether you’re looking to express your creativity, make a meaningful gift, or promote sustainability, a customized tote bag is a practical and stylish solution. By following this guide, you’ll have a durable, eye-catching accessory that’s perfect for any occasion.


